Telescope magnification — or zoom, as beginners sometimes call it — is not as important as you might think.
While it’s true that magnification is one of the defining characteristics of a telescope, in astronomy magnification is secondary to another characteristic: light grasp. An astronomical telescope is, first and foremost, a light-gathering instrument.
Telescopes with large apertures provide brighter images with higher resolution than smaller telescopes and can handle higher magnification. But even the biggest telescopes will often be limited to less than its maximum zoom by factors such as atmospheric turbulence and poor collimation.
Having said that, it is important to know how magnification works and how much you should use to get the most out of your telescope and viewing conditions.
Theoretically, the maximum magnification is approximately 50x per inch of the telescope’s aperture, or two times the aperture in millimeters. So for a 80mm refractor, the maximum magnification would be 160x.
How to Calculate Telescope Magnification
The formula for magnification is easy:
Magnification = telescope focal length/eyepiece focal length
Therefore, if your telescope’s focal length is 1000mm and your eyepiece is 10mm, your magnification will be 100x. A 20mm eyepiece will provide 50x with this telescope, while a 5mm will provide 200x. It is that simple.
From this equation we can see that telescopes with long focal lengths will provide more magnification with any given eyepiece. We can also see that eyepieces with short focal lengths will provide more magnification on any given telescope.
Maximum Magnification: Theoretical Vs. Useful
A common rule of thumb says that your maximum magnification is around 50x per inch of aperture, or 2x per millimetre. This corresponds to an exit pupil size of 0.5mm.
The exit pupil is the circle of focused light projected out of the eyepiece and into your eye; it gets smaller as magnification increases, and once it gets much below 1mm annoying things begin to happen. Specks of dirt on your optics suddenly become visible; eye floaters appear and get in the way; even your eyelashes may obtrude your view.
The formula for exit pupil is:
Exit pupil (mm) = Aperture (mm)/magnification
We can see that a large aperture will provide a larger exit pupil for any given magnification. This is the real reason why bigger telescopes have higher theoretical maximum magnification.
Unfortunately, your maximum useful magnification will often be a good deal less than the theoretical 50x per inch, especially if you have a big reflector or SCT. There are a few reasons for this:
Poor seeing
In astronomy, “seeing” refers to the steadiness of the atmosphere. While there is no universal grading system for seeing, there are some websites and forecasting apps which try to predict seeing conditions, such as Astrospheric and Cleardarksky.
Another way to gauge seeing is to observe stars overhead for twinkling, since it is poor seeing which causes this effect. But you often won’t know about seeing until you get out there. Poor seeing can limit useful magnification to 200x or less, especially for high-contrast targets like the moon and planets. Fuzzy objects like nebulae are less impacted. Poor seeing tends to be more noticeable in large telescopes.
Collimation
The optics in your telescope need to be aligned so that the incoming light is properly focused. This is called collimation. While most refractors are permanently collimated from the factory, if you have a reflector or Cassegrain telescope, you should at least check collimation periodically. An out-of-collimation telescope will not achieve good focus, especially at high power.
Optical quality
Not all telescopes are created equal. If you bought the cheapest telescope you could find, there’s a good chance the optics weren’t figured precisely enough for maximum magnification.
Personal preference
Some people simply don’t like using high power. Viewing at high magnification generally takes more effort, for reasons we will discuss below. You will often encounter experienced stargazers who seldom exceed 200x.
Side-Effects of High Magnification
The purpose of using high magnification is to enlarge objects so details become more easily visible. But there are some side effects of high magnification to be aware of:
- Image brightness decreases
- Field of view gets smaller
- Objects drift faster through the field of view (unless you have a tracking mount)
- Objects are more difficult to locate
- Vibrations are amplified
- Image sharpness is reduced
- Dirty optics and eye floaters become visible
As you can see, there is a trade-off when using high power. Objects look bigger but are softer, shakier, and harder to find and track. In fact, when a beginner is unable to see anything through their telescope, it is usually because the magnification is too high.
Tips For Using High Magnification
1. Start with your lowest power until you’ve located a target. Increase magnification incrementally.
2. Ensure your optics are relatively clean and well-collimated prior to observing.
3. A telescope with auto tracking or manual slow-motion controls will make tracking easier.
4. Telescopes with 2-speed focusers will be easier to focus at high magnification.
5. If you have a manually-driven telescope like a Dobsonian, invest in wide angle eyepieces for your shorter focal lengths. This will keep targets in view for longer.
6. Buying parfocal eyepieces will make it easier to keep on target when increasing magnification.
7. Select targets well above the horizon so you are looking through less atmosphere. Avoid targets over rooftops and other heat-shedding surfaces.
8. Colour filters or a neutral density filter can improve contrast on the moon and planets, making them easier to view at high power. I also find they can sometimes combat the effects of poor seeing. Note that they will reduce image brightness and change the colour of the object.
9. Consider seeing conditions when selecting targets. On nights of poor seeing, fuzzy objects like planetary nebulae are better choices for high power than planets or double stars.
10. Have patience! Even on nights of poor seeing, you may find moments of clarity where the view improves dramatically.
Best Objects for High Magnification
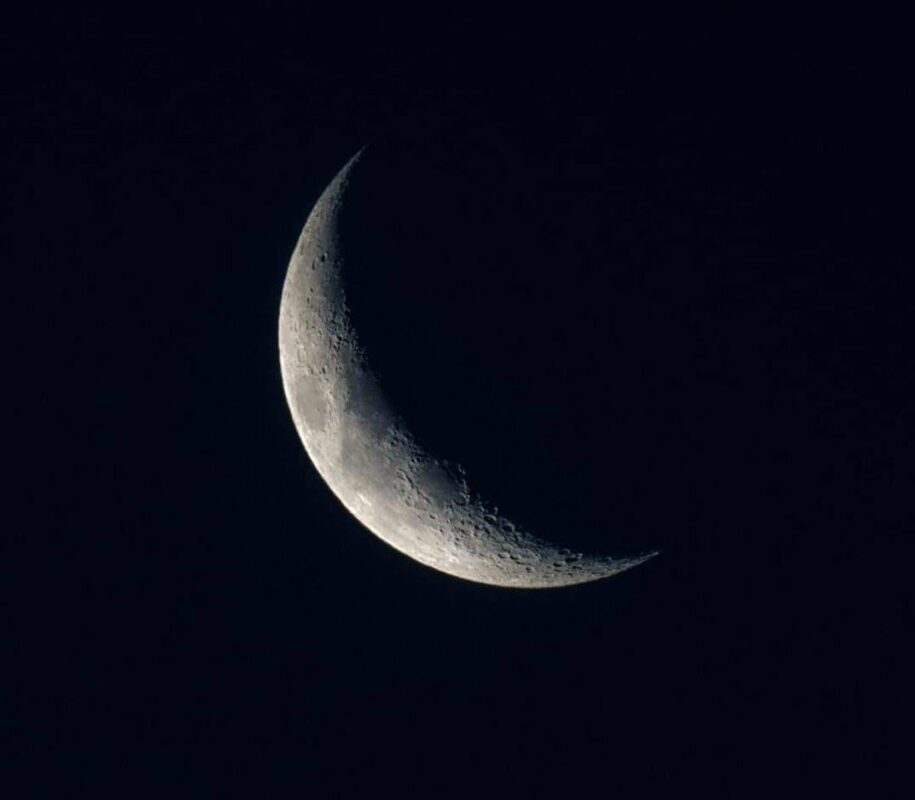
- The moon. It looks awesome at practically any magnification, and there’s an endless amount of detail to be discovered. The view changes night by night and even hour by hour.
- The planets. Jupiter has a ton of fine detail for nights of steady seeing. You might even catch a shadow transit of one of its moons! Saturn and Mars aren’t too shabby either. The other planets won’t show much if any detail but are still worth a look.
- Double stars. An overlooked category, double stars offer a lot of beauty and variety. Tight doubles with separations of 2 arc-seconds or less will require very steady skies.
- Planetary nebulae. My favourite objects. Because of their inherent fuzziness, they can take magnification better than most other targets, so go ahead and use that Barlow lens.