In order to take long exposures, we need to counteract the Earth’s rotation to prevent star trails, and that’s where a star tracker comes in. Using a star tracker allows us to take those long exposures, which will capture those finer details in our deep sky object.
A star tracker such as the Sky-Watcher Star Adventurer, will slowly rotate through the Right Ascension (RA) axis to keep your camera pointing at the same stars or deep sky object as they appear to move across the sky. RA is the circular motion of objects moving across the sky.
All stars rotate around either the North or South Celestial Pole, depending on your hemisphere. This is a point in the sky in which all stars appear to rotate around. In the northern hemisphere, we’re lucky to have the bright star Polaris very close to the NCP and we use that star to polar align.
Meaning the process of pointing our tracker at Polaris and aligning in such a way that we are perfectly in line with Polaris’s rotation around the NCP. If you’ve never polar aligned before then check out my guide here.
The process of polar alignment can seem daunting at first, but once you have the process nailed down, it will only take a few minutes to achieve.
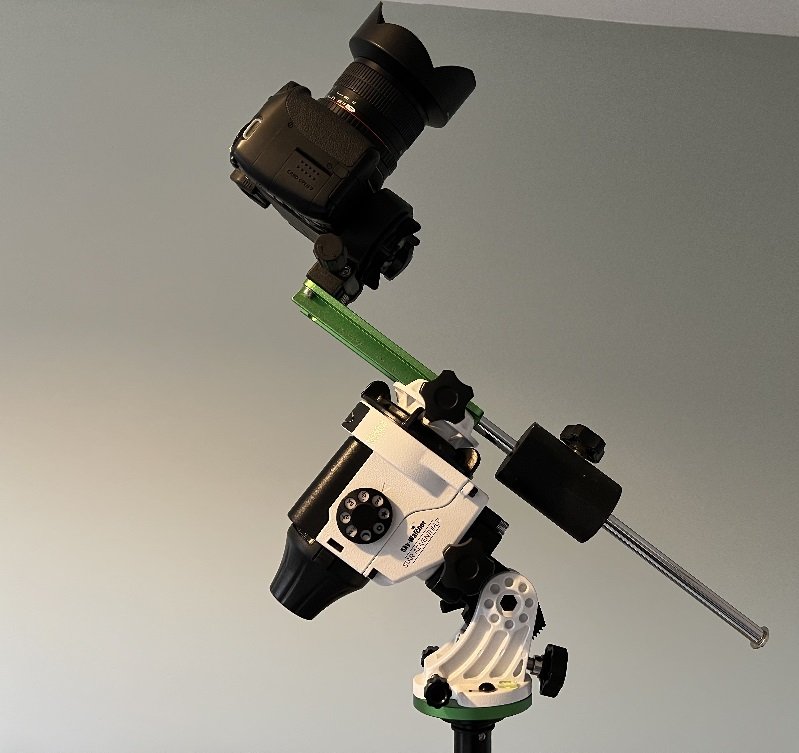
A question I’m often asked after polar aligning is how do you move the equipment? Well you can move the camera wherever you want, it’s important to remember that you’re polar aligning the star tracker, not the camera. So the mount itself will stay exactly where it is, but the camera will move.
If using a ballhead, then simply move the ballhead. If using the L-Bracket and counterweight then you can use the declination knob on the bracket and unlock the clutch for Right Ascension on the mount to move in RA.
If you’re using anything longer than a 50mm lens then I would recommend the L bracket and counterweight so that you’re not putting as much strain on the mount. For a full setup guide to the Star Adventurer, check out my video.
So now we’re fully set up and polar aligned, it’s time to start imaging. The settings will be the ones you’re familiar with from your untracked images, however we now want to adjust the shutter speed to something much longer. As a reminder here are the settings previously used:
- Aperture – If using a lens, you want the aperture to be as wide as possible so try setting it to something like f2.8.
- ISO – If using a DSLR, then I recommend trying ISO800 or ISO1600 for deep sky astrophotography.
- Shutter speed – As long as you can go without getting star trails. This will depend on how accurate your polar alignment is, but try 1 minute exposures to start.
If you’re not confident with your polar alignment then I recommend starting low. Once you nail your polar alignment, there’s no reason why you can’t do 2 minute exposures or even longer. To achieve anything longer than a 30 second exposure, you’ll want to set your shutter speed to bulb, and connect a remote shutter release cable, which will allow you to control your cameras exposure time. Make sure you buy the right type for your camera.
At this point, we’ll need to focus on a bright star to ensure the stars are sharp. To do this, use the live view on your camera and zoom in as much as possible and adjust the focus until the star is as small as possible. You can buy cheap focus aid called a bahtinov mask to help with focus.
A bahtinov mask is a tool astrophotographers use that goes over the lens or telescope objective and creates diffraction spikes. Once the spikes create an X with a line through the middle of it, you have achieved perfect focus. I have a video explaining bahtinov masks, which you can watch here.
Now we’re into our imaging. Again, make sure that you’re checking your first image to look for star trails, change ISO etc. Your settings may need to be adjusted after your first test shot. Keep taking test shots until you find the right settings for your setup.
You’re going to start seeing a real difference in your images now. There will be a lot more stars showing up. If you’re imaging a deep sky object you will now be capturing those faint details, and this is where post-processing gets really fun.
Remember we need to take calibration frames to remove noise from your final stacked image. I have a guide on Flats, Darks, and Bias Frames on my website for you to follow.
Post Processing
Now that we have all our images files and calibration frames, it’s time to stack and process them. I have a full video tutorial on how to stack deep sky astrophotography images using DeepSkyStacker, which you can find here.
I also have a video tutorial for how to process deep sky astrophotography in Photoshop here.
