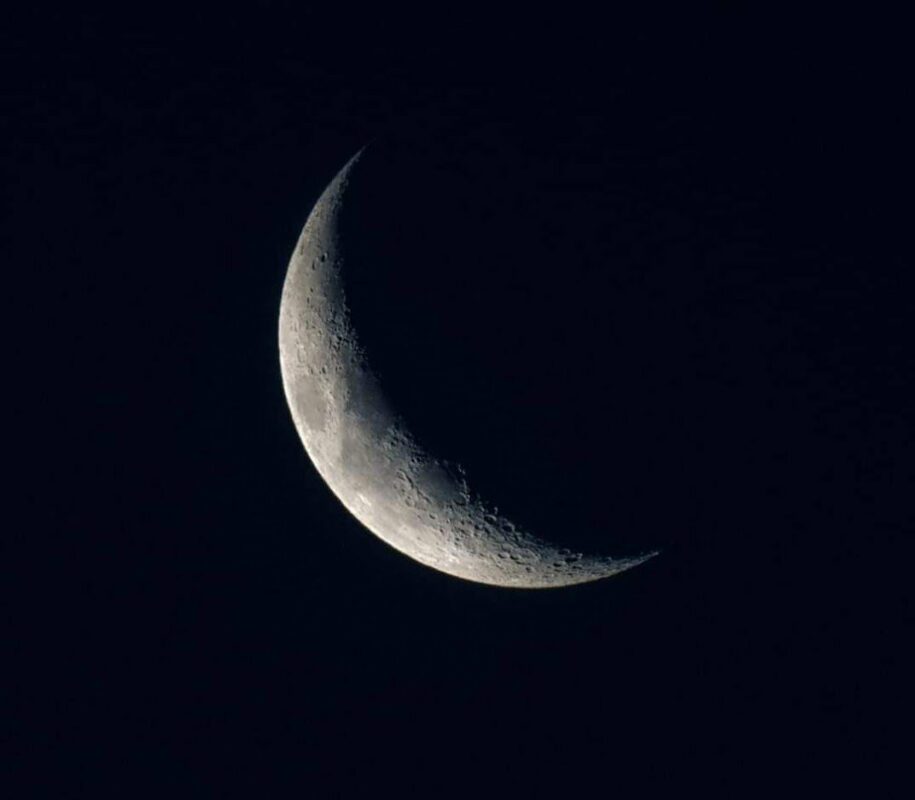
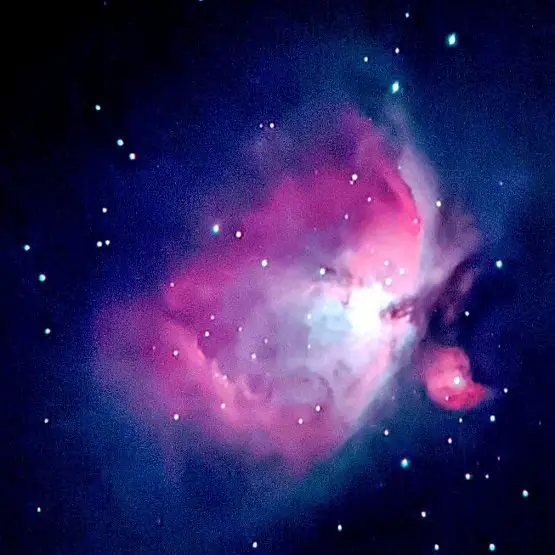
Astrophotography, the practice of photographing celestial events and objects, once required hefty telescopes and specialised cameras. However, technological advancements have made it possible to do smartphone astrophotography. Today, with a modern smartphone, you can photograph lunar craters, planets, stars, and even galaxies.
While traditional DSLR cameras and telescopes offer advanced features for astrophotography, smartphones come with increasingly capable cameras and astrophotography apps. These tools can effectively manage low light conditions and long exposure times necessary for night sky photography. The key lies in understanding the limitations of a smartphone camera and using techniques that maximise its potential.
Key Takeaways
- Smartphone cameras now allow you to take part in astrophotography, expanding the accessibility of this hobby.
- Achieving quality night sky images with a smartphone requires knowledge of the right apps and techniques specific to mobile photography.
- While smartphones can capture celestial bodies, proper setup and post-processing enhance the overall quality of astrophotographs.

Understanding Smartphone Astrophotography
In the realm of astrophotography, your smartphone is a surprisingly capable tool, given its portability and the sophisticated camera technologies it harbours. This section will guide you through the benefits and constraints of using a smartphone camera for capturing celestial wonders and discuss essential camera features that can enhance your night sky imaging.
Advantages and Limitations of Smartphone Cameras
Advantages:
- Portability: Smartphones are inherently convenient, and you can easily carry them to any stargazing location.
- Ease of Use: With intuitive interfaces, their cameras allow quick snapshots without complex setups.
Limitations:
- Sensor Size: Smartphones typically have smaller sensors compared to dedicated cameras, which may result in lower light sensitivity and higher noise in dark conditions.
- Manual Controls: While improving, the extent of manual controls over ISO, shutter speed, and focus can be limited, affecting your ability to capture detailed images of the night sky.
Essential Camera Features for Night Sky Imaging
When delving into astrophotography with a smartphone, prioritise devices with the following camera settings to enhance your experience:
- High ISO Capability: A higher ISO setting makes your camera more sensitive to light, imperative for low-light environments.
- Control Over Shutter Speed: Extended exposure times (slow shutter speed) allow more light to reach the sensor, crucial for photographing stars and galaxies.
- Focus Adjustment: Manual focus capability is vital to ensure sharp images of celestial objects.
- RAW Image Support: Shooting in RAW allows for post-processing adjustments without quality loss, essential for correcting noise and exposure.
- Night Mode: Many smartphones now come with a dedicated night mode that optimises settings for low-light photography.
By embracing these features, you optimise your smartphone for the challenging yet rewarding pursuit of capturing the cosmos.
If you’re wondering which smartphones are best for astrophotography, then checkout my full guide for 2024 here.

Equipment and Setup for Night Sky Photography
Embarking on the journey of capturing the night sky with your smartphone requires careful selection and setup of the right equipment. Your success in smartphone astrophotography hinges on a stable foundation and precise configuration to ensure clear and captivating images of celestial wonders.
Once you’ve got your equipment setup, I have some helpful tips for smartphone astrophotography to get you started.
Choosing the Right Accessories and Mounts
Selecting suitable accessories for smartphone astrophotography greatly enhances your ability to capture the night sky effectively. A sturdy tripod is essential to maintain stability during long exposures, reducing the chance of image blur introduced by hand movement.
Invest in a quality smartphone adapter that can securely attach your device to the tripod. When using optical aids such as a telescope or binoculars, an adapter is also required to couple the smartphone to the eyepiece. This enables your smartphone camera to focus on the image produced by the telescope or binocular, transforming your smartphone into a powerful tool for night sky photography.
- Essential accessories for stability and alignment:
- Tripod: To keep your smartphone steady.
- Phone Adapter: To affix your smartphone to the tripod or optical device.
- Eyepiece Adapter: To connect your smartphone to a telescope or binocular eyepiece.
Configuring the Equipment for Optimal Capture
Once the mounting is secure, attention must turn to the configurations that enable the best capture of night sky images. Long exposures are necessary to photograph celestial objects due to their faint nature. Many smartphones feature manual controls or specialised apps that allow for long exposure settings; utilise these to increase the exposure time.
A remote shutter helps avoid any vibrations when taking the photograph. Moreover, fine-tuning your smartphone camera settings such as ISO, focus, and aperture is crucial for a clear and detailed image. Ensure that your smartphone is charged and that you have adequate storage for the high-resolution images you will capture.
- Configuration checklist for optimal capture:
- Long Exposure: Enable manual controls or use apps to set a long exposure.
- Remote Shutter: To prevent camera shake when initiating the capture.
- Camera Settings: Adjust ISO, focus, and aperture as required for clear shot.
- Smartphone Preparedness: Ensure a full battery and sufficient storage space.
By following these guidelines, you will be well-equipped to enter the realm of smartphone astrophotography with a setup primed for capturing the night sky’s most enchanting spectacles.
Capturing Celestial Objects
With the advent of advanced smartphone cameras, you can now photograph the Moon, stars, and even entire constellations directly from your device. The process requires understanding specific techniques and handling intrinsic challenges such as light pollution.
Techniques for Photographing Different Astronomical Targets
To capture the Moon, utilise a smartphone camera’s manual focus and zoom features to get clear, detailed shots. For stars and the Orion constellation, a steady tripod and a camera app that allows for long exposure will enable you to record these celestial bodies with clarity.
When trying to photograph the expansive Milky Way, find a dark location and use a wide-angle lens to encompass its grandeur. For planets like Saturn, a telescope mount for your smartphone can greatly enhance the detail captured in your photos. The Pleiades star cluster can be photographed by using apps that control the ISO and shutter speed, allowing for better light capture of these distant suns.
During meteor showers, a time-lapse mode is quite beneficial. For capturing satellites and the International Space Station as they pass overhead, use a tracking app to predict their movement and time your photography session accordingly.
Overcoming Challenges of Light Pollution and Motion
Light pollution is a significant hurdle in urban areas. To mitigate its effects:
- Seek out darker skies in rural locations.
- Use a night-time photography app that offers specific light pollution reduction settings.
Motion is another challenge, as the Earth’s rotation can cause stars to trail in long-exposure photographs. To prevent this:
- Set shorter exposure times.
- Use a tracking mount that moves your smartphone in alignment with the celestial objects.
Post-Processing and Sharing
Once you’ve captured the night sky with your smartphone, post-processing becomes an essential step in astrophotography. It’s through refining your images that you can significantly enhance their clarity and impact, making them ready for sharing with a community of enthusiasts or the public at large.
Editing Night Sky Photos for Clarity and Impact
When editing your captures, you should aim to convey the true wonder of the night sky. Utilising a reliable editing software like Adobe Lightroom can help you adjust exposure, contrast, and colours to better reflect the natural beauty of celestial objects. Focus on composition and light pollution, which can be mitigated using a light pollution map during the capture process or through selective editing afterwards.
For optimal quality, always work with images in raw format; this provides the greatest flexibility and preserves details that might be lost in compressed formats.
- Key Steps in Editing:
- Remove unwanted noise.
- Increase clarity to make stars stand out.
- Adjust colour balance to ensure the photo looks natural.
- Crop for compelling composition.
When using programmes like Adobe Photoshop, more intricate post-processing techniques can be applied. Sharpening the details of celestial bodies or reducing the grainy effect caused by low light can turn a good photo into a great one.
Best Practices for Sharing and Discussing Astrophotography
After fine-tuning your astrophotography images for maximum impact, sharing them with others can be both rewarding and educational. When posting your images online:
- Choose platforms that cater to astrophotography enthusiasts.
- Provide details about the capture and processing techniques used, as transparency can enhance the educational value of your post.
- Engage with the community by participating in discussions and providing constructive feedback on others’ work.
Remember, while you may not have a DSLR camera, your smartphone can still be a powerful tool in astrophotography when you apply the right techniques and post-processing skills. Sharing your work invites both appreciation and critique, but most importantly, it contributes to the collective endeavour of astronomical discovery.
