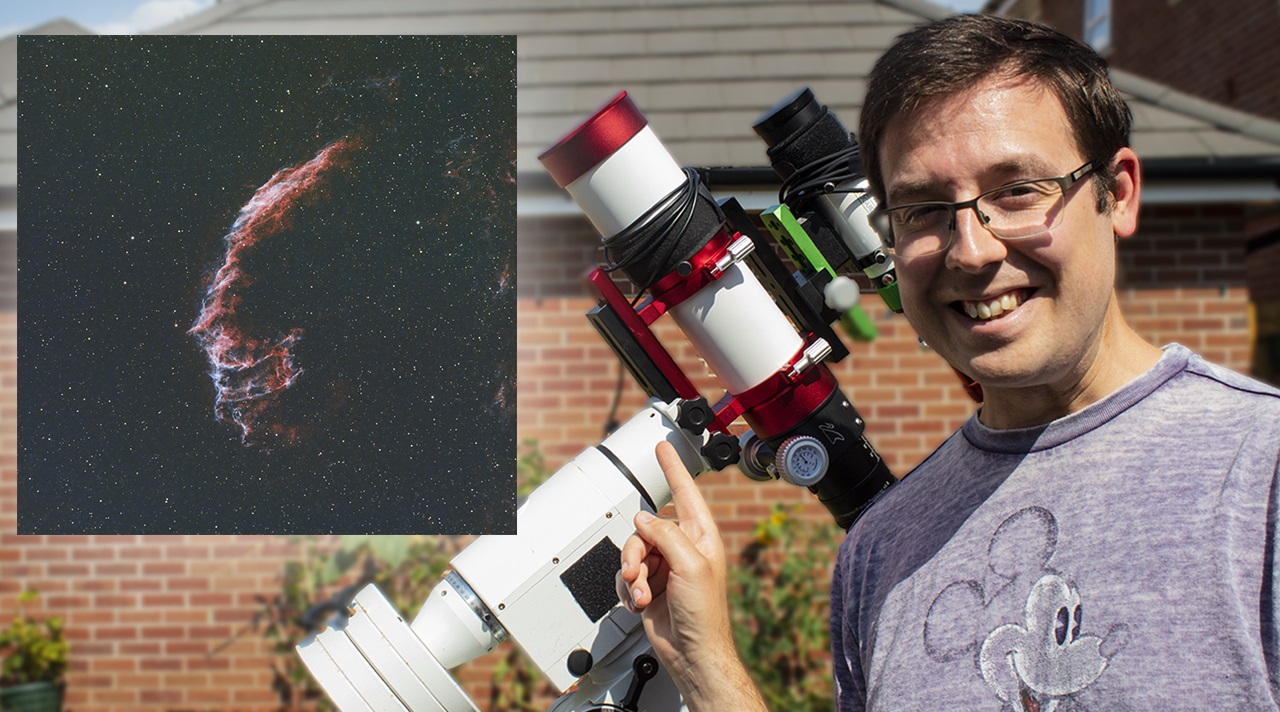
I’ve been doing astrophotography for a long time. Along the way I’ve made many mistakes that I wish I could go back and tell myself not to make. I’ve compiled this list based on my experience as an astrophotographer.
This list will be useful to beginners, but even if you’re a seasoned pro, there is probably something useful here for you too.
Tip 1 – Start Simple
I see this scenario a lot on forums and social media: “I’m just starting out in the hobby. I’ve bought a Sky-Watcher EQ6-R Pro, Esprit 120, a dedicated astronomy camera (such as the ZWO 294MC Pro), auto guiding gear and I want to control my rig using Astrophotography Tool, but I’m struggling to get decent results. HELP”
People starting out in the hobby often buy all the latest and greatest gear, without understanding the complexity of it and then get overwhelmed by the learning curve and give up in frustration of not being able to make the gear work.
I get it. We all want to take the most amazing pictures of space that we possibly can, but patience really is key in this hobby. Give yourself a fighting chance by starting simple and then add complexity over time.
My recommendation is to start with the gear that you have. If you have a DSLR or mirrorless camera, start by pointing it at the night sky and taking some shots of the stars. Once you’ve figured out focus, exposure time, ISO settings etc, then start to think about imaging specific areas of the sky to capture targets.
For example, in the northern hemisphere in Winter, the Orion area of the sky has lots of nebulosity surrounding it from Barnard’s Loop, Orion nebula, Flame nebula, Horsehead nebula AND Running Man nebula. These are all targets that are easy to capture with basic gear.
From there, buy yourself a star tracker such as the Sky-Watcher Star Adventurer and learn the art of polar alignment, finding targets and long exposure astrophotography.
Once you’re comfortable with a star tracker, then consider buying a wide-field refractor telescope and a bigger mount. Then perhaps add image acquisition software such as Astrophotography Tool…and we’re not even on to auto guiding or using a dedicated astronomy camera and filters yet!
You will learn this hobby more quickly, and get much more enjoyment out of it if you grow into it.
Tip 2 – Don’t Expect Too Much Too Soon
Astrophotography is unlike any other type of photography. I’ve already mentioned some of the challenges above, but if you’re just starting out in this hobby and expecting APODs straight away, then you may want to dial back your expectations a little. Social media can give us a feeling of inferiority a lot of the time.
There are some wonderfully talented people out there on Instagram and Co, putting out the most breathtaking images of the universe, and as a newbie to the hobby, it’s easy to be tricked into thinking it’s all in the equipment – it isn’t.
What you won’t see is the years of time and dedication spent on improving their craft. It’s easy to see the end result and assume that’s where everyone starts.
To be an astrophotographer, you need to understand the basics of photography (aperture, exposure, ISO), you need to be reasonably technically savvy to run your imaging rig, you need to understand the night sky, you need attention to detail to nail down polar alignment, focus etc.
You then need to be able to take those RAW files and turn them into something beautiful using software on your PC. It’s a very in-depth hobby, but the rewards are so worth it, trust me.
Tip 3 – Don’t Rush Your Set Up
I have been guilty of this many times myself. An unexpected clear night has arrived and you weren’t prepared, it happens to all of us.
The obvious choice here is to frantically rush around getting all your gear set up so that you can start imaging as quickly as possible to maximise your imaging time, especially if you only have 1 or 2 hours of clear skies.
The problem here, is that I can guarantee something will go wrong in your setup and you will end up spending the whole time trying to fix issues, and those pesky clouds will roll in before you’ve had chance to do any imaging.
A night ruined. It might seem counter-intuitive, but an extra 15-20 minutes spent setting up is not time wasted but time spent making sure everything is running correctly so that you can capture some images.
At the time it feels like 20 minutes less of imaging time, but that extra time spent setting up really can save your whole session – just ask anybody that’s been doing astrophotography for any length of time.
Tip 4 – Don’t Compare Yourself to the Pros
I see a lot of people apologising for the quality of their image and I can only put this down to social media. NEVER, especially when just starting out, apologise for the quality of your image.
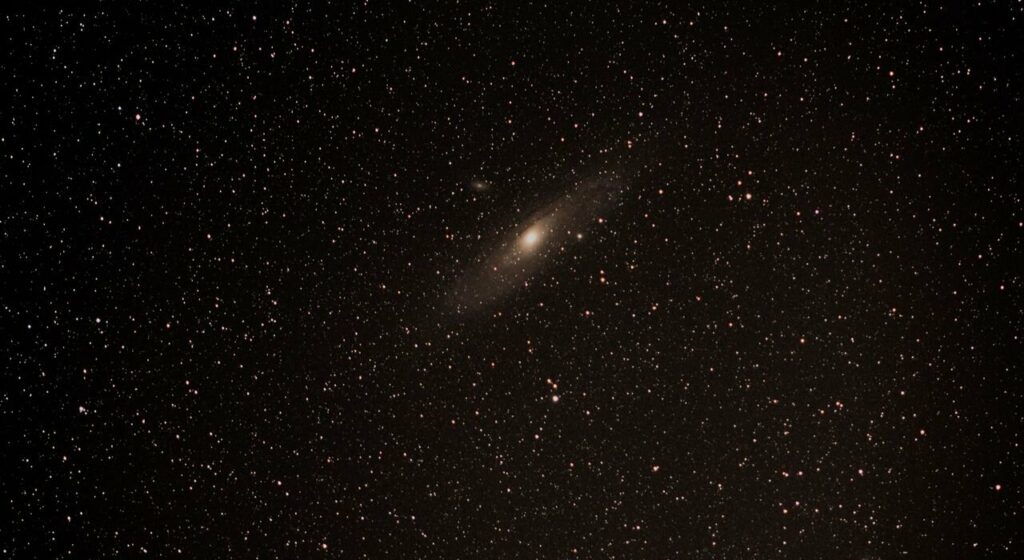
Your first deep sky image won’t be the most detailed image out there, but it will be the best image you’ve taken so far and it should therefore be cherished as a great milestone.
The astrophotography community is very supportive. We all started out at the same place, we’ve gone through the same learning process as each other, but those new to the hobby are yet to undertake that process and shouldn’t compare themselves to people who have been doing it for years.
Share your first image and I can assure you that everyone will love it and you should feel proud of what you’ve achieved. Yes, the internet has trolls and astrophotography is no exception, but they’re also probably the same people that can’t manage to come up with anything themselves and are jealous of you, so ignore them.
Tip 5 – Plan Your Imaging Session
This is a really important one. If you know you’re going to have a clear sky later in the day, take 10 minutes to have a think about your imaging session. Here’s a few things to think about:
- Use Stellarium or similar to locate targets you can image from your location.
- Setup an equipment profile in Stellarium to see the FOV for how a target will look with your equipment.
- Think about where in the garden you will setup. Is there a light shining near your gear, will a neighbour’s roof be in the way if you set up in a certain part of the garden etc.
- Make sure your batteries are charged.
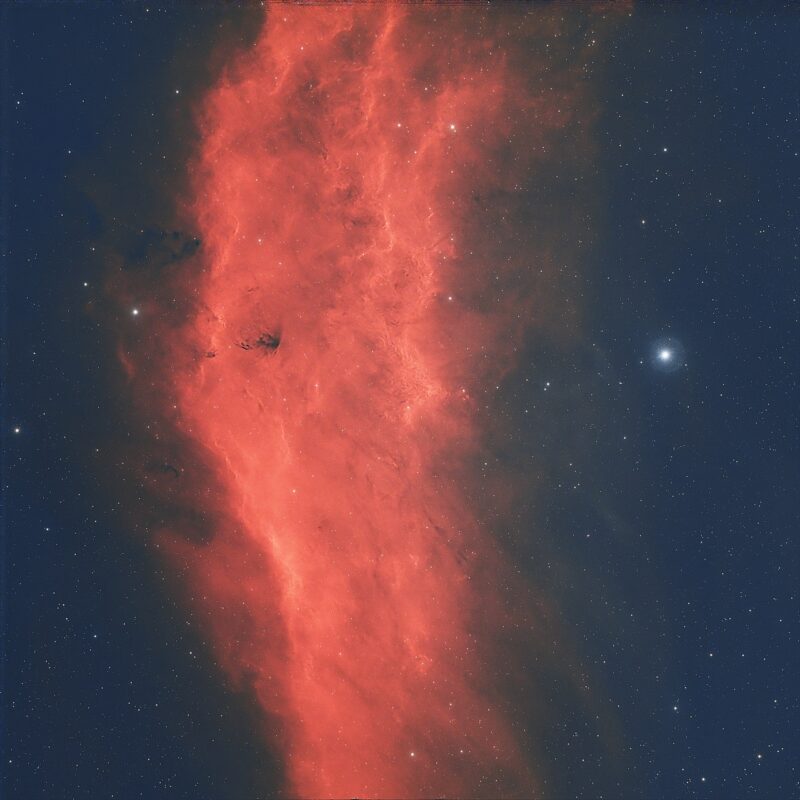
- Do you have the right gear for the target you want to image? E.G. if you don’t have a modified DSLR or CMOS camera, then you may want to avoid emission nebulae and focus more on galaxies, depending on your focal length.
- Will I need to do a meridian flip during the night? (You can use Stellarium to find out)
Spending 10 minutes sorting these things out will save you time later, and you’ll be prepared for when that clear sky arrives later and won’t use precious clear skies thinking about what to image.
The most important thing for a beginner to remember is to simply have fun!
Enjoy it! This is a remarkable hobby and you will be amazed what you’re capable of doing once you figure out the basics. Remember to keep looking through old images to check your progress and see how far you’ve come. If you’re not having fun, then you’re doing something wrong.
It is perfectly normal and acceptable to make mistakes, we all do. It’s okay to feel frustrated at times when things just won’t go your way and you don’t know what you’re doing wrong.
At that moment it’s important to take a step back, re-evaluate and reach out to the community. Chances are, if you’re having an issue, then many other people will have had the same issue.
There are lots of Facebook groups out there, I’m always willing to help those in need through my social media pages or website, but StargazersLounge is also a great resource, full of incredibly knowledgeable people who have been in this hobby for decades. Use the community, nobody will laugh at you, but lots will be willing to help.
