Astrophotography involves capturing images of astronomical objects such as stars, galaxies, and planets. It is a deeply rewarding hobby that allows individuals to explore the vastness of the universe and capture its beauty through a camera lens or telescope.
However, many aspiring astrophotographers often ask the question, just how expensive is astrophotography? Or, do I need to spend thousands of dollars to capture images of the night sky. Let’s explore those questions in this post.
The answer to this question is not a simple one, as the cost of astrophotography can vary greatly depending on several factors. Some of these factors include the equipment needed, the level of expertise of the photographer, and the specific objects being photographed.
We will take a closer look at each of these factors, but to give you an idea of indicative costs, astrophotography gear can range from $500 for a basic setup, all the way up to over $10,000 for observatory grade equipment.
Equipment
One of the primary expenses associated with astrophotography is the initial cost of equipment. In order to capture images of astronomical objects, specialist equipment is required. This includes a camera, lens, telescope, tripod and tracking mount. The type and quality of the equipment used will greatly impact the quality of the images captured.
It’s not all about the equipment, however. A new astrophotographer can’t just buy expensive gear and expect Hubble Telescope like results. Equally, an experienced astrophotographer can take a great image using nothing but a DSLR and kit lens sat on a static tripod.
There’s so much more to astrophotography than just the equipment you buy, but it will of course play a huge factor in the quality of your images.
A basic astrophotography setup could consist of a DSLR camera with a lens capable of taking wide-angle shots of the night sky, such as the Rokinon 14mm F/2. This type of setup is relatively affordable, with entry-level DSLR cameras starting at around $500 and lenses starting at around $100.
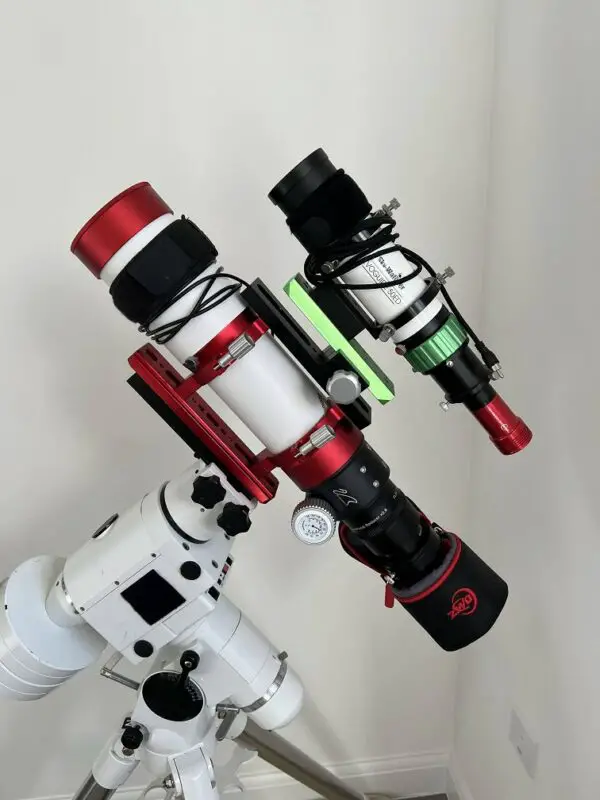
However, a more advanced setup may require a dedicated astronomy camera designed specifically for astrophotography, such as a cooled CMOS camera, such as the ZWO ASI533MC Pro that I use for my own images.
These cameras start out at approximately $1000 but can cost several thousand dollars, with some high-end models costing upwards of $10,000.

Telescopes are also an essential piece of equipment if you’re looking to do deep sky astrophotography, rather than the widefield nightscapes discussed previously. A basic telescope suitable for astrophotography can cost anywhere from a few hundred dollars to several thousand dollars.
The type of telescope needed will depend on the specific objects being photographed, as different telescopes are better suited for capturing different types of objects, but for ease I would recommend starting with a compact refractor.
They are widely used so there’s plenty of info out there, they’re very forgiving as they have a wide field of view and are relatively inexpensive for the smaller models.
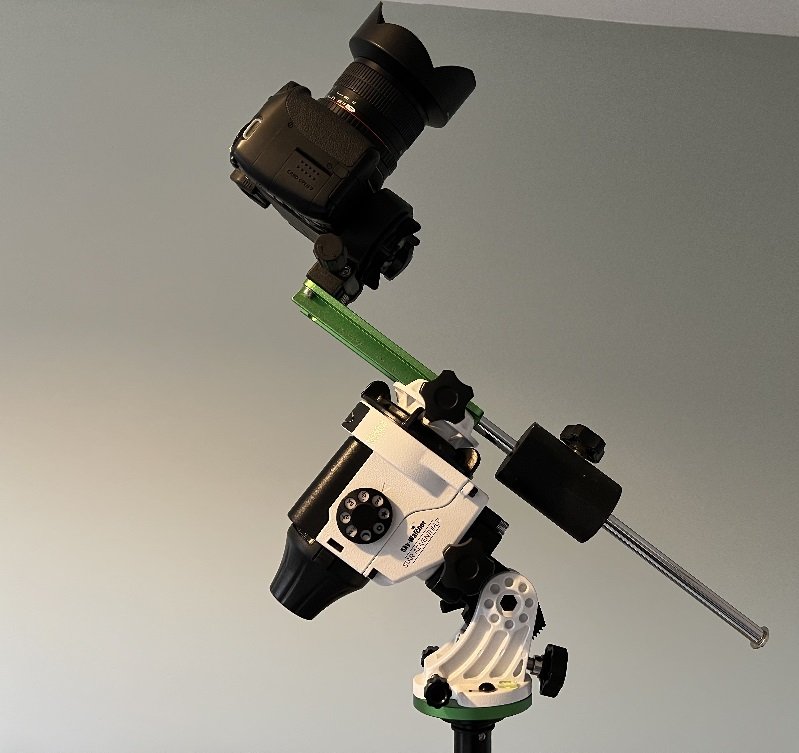
Other equipment that may be needed includes a tracking mount, which is used to counteract the rotation of the Earth and tracks the stars as they appear to move through the night sky. This is an essential piece of equipment for deep sky astrophotography, where long exposures are necessary to capture the details of a distant nebula or galaxy.
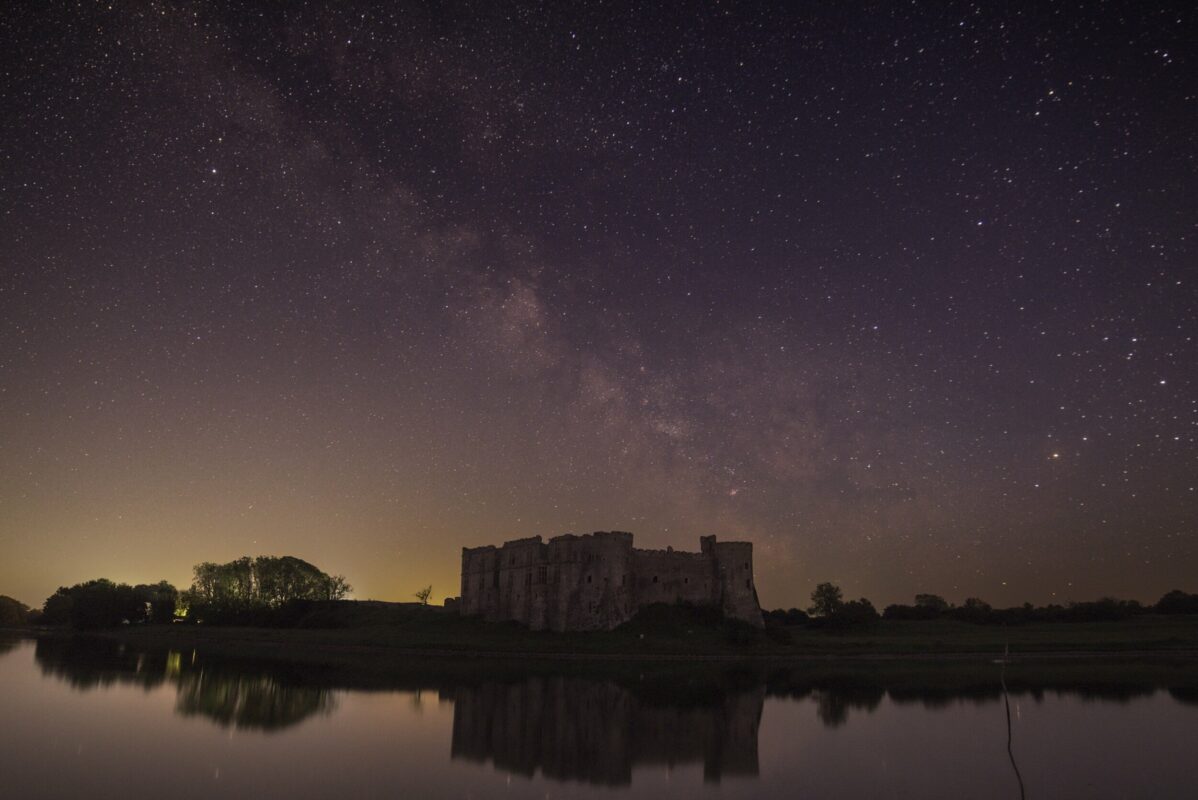
However, with nightscape shots of the Milky Way, or images of the moon, a tracking mount isn’t completely essential. Milky Way images do benefit from a tracking mount, but you can get decent images just using a 30 second exposure. See one of my images below as an example.

A remote shutter release may also be required, which allows a photographer to take pictures without touching the camera shutter button and introducing unwanted vibrations. This is essential for those nightscape shots, but a more complex deep sky rig may have a laptop connected or something like a ZWO ASI Air Pro, meaning a remote shutter release isn’t necessary as you’re controlling your camera via a computer.
Experience
The level of experience of the astrophotographer can also impact the cost of this hobby. As with any skill, there is a learning curve associated with astrophotography. Beginners quickly discover that there is a steep learning curve to producing high-quality astrophotography images.
However, if you’re already an experienced photographer, then you also understand the fundamentals of how a camera works, and how to get the best out of your gear by choosing the right settings, and that goes a long way to getting started.
One way to improve your skills and build a deeper understanding of astrophotography is to join a local astronomy club or attend workshops or classes. These resources can provide valuable guidance and instruction, helping you to improve your skills and reduce the amount of trial and error involved in capturing great images.
I run my own astrophotography workshops that you can book here.
Nightscapes vs Solar System vs Deep Sky
The objects being photographed can also impact the cost of astrophotography. Some objects, such as the Moon and bright planets like Jupiter and Saturn, can be photographed with relatively basic equipment. Although don’t expect too much from your Jupiter or Saturn images, serious planetary astrophotography is a whole other game entirely.
Nightscape shots of the Milky Way or constellations can be captured with even your smartphone! But if you have a DSLR or mirrorless camera, set this up on a tripod with the widest angle lens you have and you’ll be amazed at what you can capture!
Planetary astrophotography is, in my opinion, the hardest of them all as there’s much more to contend with. Earth’s atmosphere has a big impact on taking images of the planets, and while the planets are close to us in astronomical terms, they’re also really small compared to a galaxy or nebula, so you need a telescope with a bigger reach.
A small refractor isn’t going to cut it here, you need something with at least 1800mm focal length to get a decent image, you’ll also need a dedicated planetary astro camera and capture your planet of choice by taking short video clips that you blend together later to create one final image.
Deep sky objects like galaxies and nebulae, require more advanced equipment and techniques to capture. In deep sky astrophotography, we need to use long exposures to capture the detail in a faint distant object, this requires a tracking mount capable of carrying heavy camera gear.
The price of these is over $1000 to start and go well beyond that price for more advanced mounts. You can still use a cheap refractor telescope and a DSLR, however.
In astrophotography, stability is king, so you will want to spend most of your budget on your mount, since wobbly gear isn’t going to capture any good images no matter how expensive your camera is!

This is why astrophotography can get VERY expensive very quickly. I’ve mentioned 3 different types of astrophotography here, and you need 3 different types of equipment for all of them. I haven’t even mentioned capturing an image of the Sun, that’ll set you back another $2000 on top of everything mentioned above!
Example Astrophotography Setups

There are other things you’ll need here, such as a remote shutter release, a power source, light pollution or narrowband filters, but as you can see from an entry level setup in each category, the costs can add up very quickly. Nightscape photography is the lowest barrier to entry, particularly if you already own a camera, as there’s nothing extra to buy unless you need a new lens, and this is where many aspiring astrophotographers start.
Cost Saving Tips
While astrophotography can be an expensive hobby, there are several ways to reduce costs and make it more accessible. Here are a few tips to help you get started:
1. Start with basic equipment – As mentioned earlier, a basic DSLR camera with a wide-angle lens is sufficient for capturing many types of astronomical objects. Starting with basic equipment can help you learn the basics of astrophotography without breaking the bank. I always say start with what you have, learn how to capture images with it, and then upgrade when you reach the limitations of the gear you have.
2. Buy used equipment – Used equipment can often be purchased at a significantly cheaper price, and people in the astrophotography world really look after their gear. After all, it is expensive!
3. Do your research. A lot of people get in touch with me after buying relatively cheap equipment which is okay for visual astronomy, and then want to take deep sky astrophotography images. These cheaper telescopes on wobbly mounts are no good for astrophotography, make sure you know what you’re buying first.
For more tips check out this other page I have on 5 tips you need to know before starting astrophotography.
Final Thoughts
In general, the more difficult the object is to photograph, the more expensive the equipment and expertise required will be. However, this should not discourage aspiring astrophotographers from pursuing their hobby, as there are plenty of objects that can be captured with relatively basic equipment.
