There are many things which surprise and confound newcomers to astronomy: the challenge of setting up and aiming a telescope; the tendency of objects to rapidly drift through the field of view; how much the telescope will shake at the slightest touch.
Also, depending on what type of telescope you have, the views might be backwards or upside down. This is normal, and something you will get used to.
In this article we’ll learn about the orientation of the views through various telescope designs, discuss whether this is a problem, and discover ways to correct the views if necessary.
Why Are Telescope Views Upside Down?
Optical Confusion
Everyone is familiar with mirror-reversed images, where your reflection is flipped left to right. With telescopes, the situation is more complex. This is because telescopes typically use several optical elements or surfaces, each of which flips the image a certain way.
The final orientation of the image depends on the specific configuration of lenses and/or mirrors in the optical train. Occasionally, corrective devices such as prisms are used to flip the image back to its natural orientation. In addition to all this, image orientation may be affected by the positioning of eyepiece and the angle at which you look through it.
Which Way Is Up?
When it comes to viewing through a telescope eyepiece, image orientation is not too important. In fact, unless you are looking at the moon it is unlikely you will even notice if an image is inverted or mirror-reversed just by looking.
For navigating the stars, however, it is a different story. Charting a course through the constellations with a telescope can be a tricky business when the view through the eyepiece or finderscope doesn’t match your star charts. It is something you will need to get used to, so let’s explore the views through different telescope designs and learn what to expect.
Image Orientation Through Different Telescope Designs
Reflecting Telescopes
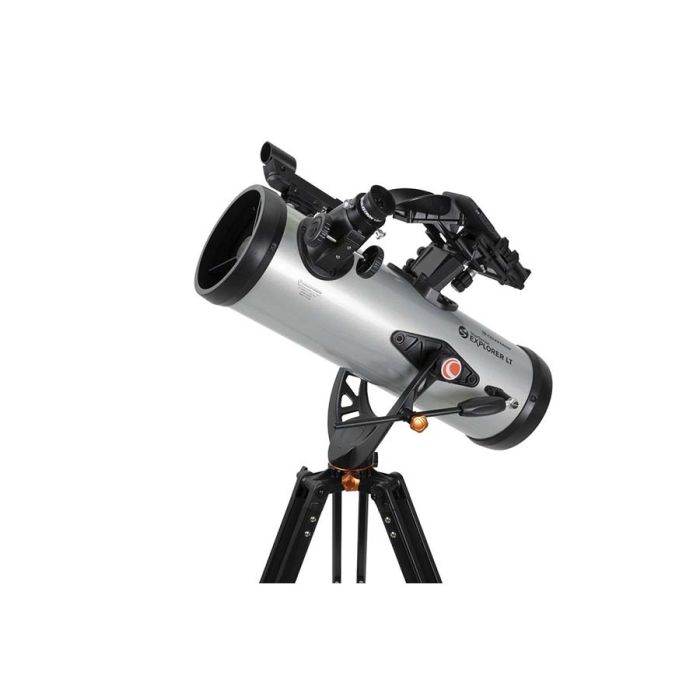
Because they employ two mirrors, Newtonian reflectors flip the image both left to right and top to bottom. The result is an image which is rotated 180 degrees. This is much easier to work with than it sounds: simply move the telescope in the exact opposite direction you want to look. This is particularly easy with Dobsonian reflectors. To match the view with your star charts, you can just rotate the chart 180 degrees.
If for some reason you find the inverted view through a reflector problematic, you can buy an erecting eyepiece or Barlow lens which will correct the orientation of the view by inserting a prism into the optical path. However, such devices are usually of low quality and may result in loss of contrast and introduction of aberrations such as false colour and are not recommended.
Refracting Telescopes
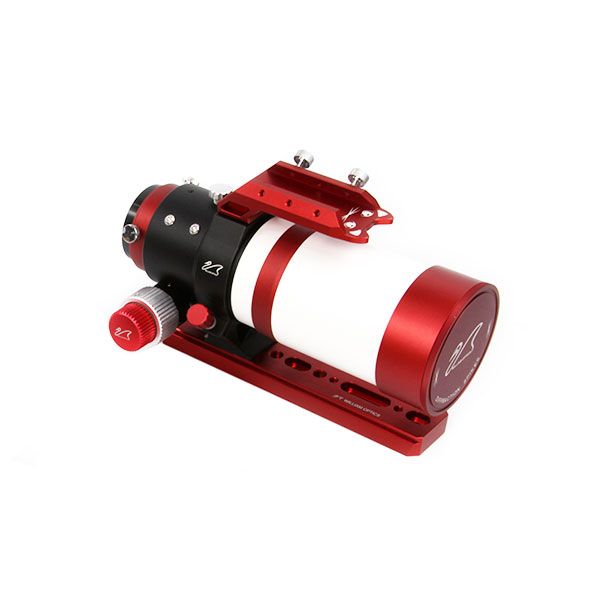
The objective lens of a refractor will invert the view in the same way as the two mirrors of a Newtonian reflector. However, astronomical refractors are seldom used with the eyepiece inserted directly into the focuser, since such an arrangement would be very uncomfortable to look through. Instead, star diagonals are employed for visual use.
These devices contain a mirror which flips the image once more, resulting in a view which is right-side-up but mirror-reversed. This can be tricky to deal with, as there is no easy way to match the view to your star charts. It is also surprisingly counterintuitive to move the telescope in the right direction with such a view. This will be most noticeable when using refractors on manual alt-azimuth mounts, and especially at long focal lengths.
Entry-level refractors are often supplied with 45-degree erecting prisms. Primarily intended for terrestrial use such as birding, these devices provide a comfortable viewing angle at low altitudes as well as a correctly-oriented image but are generally not suitable for astronomy. Higher-quality, 90-degree erecting prisms exist but few people bother with them.
SCT & Maksutov Telescopes
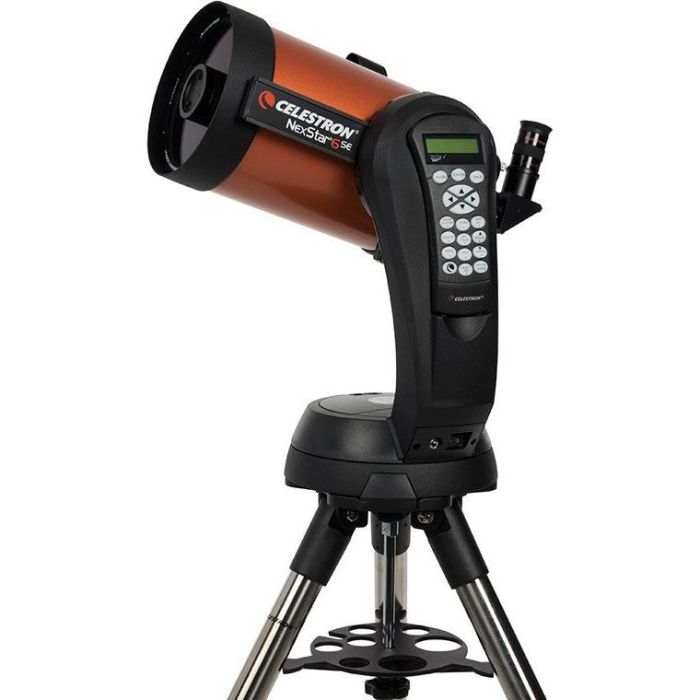
The more complex lens-and-mirror arrangements in these compound telescopes happen to produce the same image orientation as refractors, so the same principles apply. As with refractors, star diagonals or erecting prisms are employed for visual use.
Finderscopes
Perhaps more important than the image orientation of your telescope is the image orientation of your finderscope. The finderscope is typically what you will use to roam around the night sky, and it is usually this view you are trying to match to your charts when star-hopping.
There are three basic finderscope designs to know about:
- Straight-through finders provide 180-degree inverted images.
- Right-angle finders use mirror diagonals to provide mirror-reversed images.
- Right angle correct image (RACI) finders use erecting prisms to provide correctly-oriented images.
All other things being equal, RACI finders are the most comfortable to use and the easiest for star-hopping. However, they work best when paired with a reflex sight such as a Telrad or red dot finder which shows where the telescope is pointed.
Straight-through finders will provide the best contrast and light throughput due to fewer glass surfaces. They can be awkward to look through but are the easiest to point, since you can see exactly where in the sky you are pointed.
Right-angle finders without erecting prisms are comfortable but their mirror-reversed views can make star-hopping more challenging. Again, a reflex sight will help matters.
Binoculars and Spotting Scopes
As they are mainly intended for terrestrial use, binoculars and spotting scopes always feature built-in prisms to provide upright, correctly-oriented views.
The Bottom Line
Upside-down or backwards images are an unavoidable part of backyard astronomy. It might seem confusing at first but after a few sessions you will hardly notice the difference.
If you’re looking to buy your first telescope, I have a post explaining why you might not want to buy a budget one, and provide examples of the best options for beginners. Check it out here.


