As with all things in astrophotography, there are many different ways you can approach building a deep sky astrophotography rig. As a starter you will need a camera, a telescope/lens, a mount with tripod, a power source, and a laptop with software to process your images.
My Equipment for Deep Sky Astrophotography

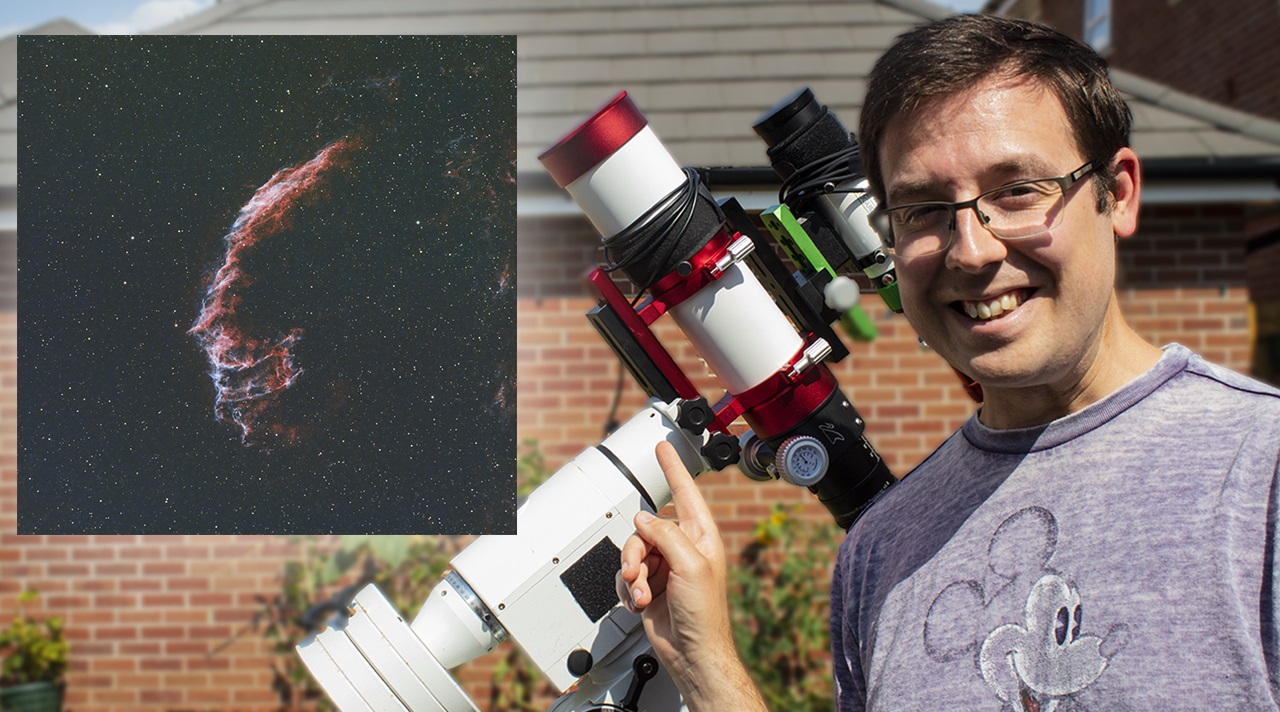
- Telescope: William Optics GT71 with 0.8x field flattener
- Camera: ZWO ASI 533MC Pro
- Mount: Sky-Watcher EQ6-R Pro
- Guide Scope: Sky-Watcher EvoGuide 50ED
- Guide Camera: ZWO ASI 120mm Mini
- Filters: Optolong L-eNhance, L-eXtreme, L-Pro
- Power Source: Mains power
I do want to stress that not all of this equipment is essential when first starting out. If you’ve never done astrophotography before, you don’t need a guide scope and guide camera. You don’t need an EQ6-R Pro, nor do you need a ZWO 533MC Pro. You will of course need a camera and mount of some description, but you don’t need to start with the most expensive gear – unless you already have the funds and want to of course!
Essential equipment
This is a list of what I consider to be the absolute essential equipment for a deep sky imaging rig. There are lots of things I could add to this list but I have put them as optional further down in this post as you can always upgrade later.
- Telescope/lens
- Camera
- Mount + tripod
- Power source
Let’s talk about each of these in turn.
Telescope
There are so many different options here that it can be overwhelming when first starting out. In fact, you don’t even have to have a telescope at all, a camera lens can do the job just as well. The Rokinon 135mm f/2 lens for DSLRs is a hugely popular lens for astrophotography and yields fantastic results.
If however, you’re set on a telescope then I would recommend any of the following for deep sky astrophotography. In my opinion, a small refractor is the best way to go when first starting out.
· Sky-Watcher Evostar 72ED. The first telescope I used for astrophotography. It’s inexpensive, small and lightweight. It’s also very forgiving due to its wide-field view so is a great option for beginners.
· William Optics Zenith Star 61
· William Optics Zenith Star 73 if your budget can stretch a little further, the 73 is a great option too
Camera
Lots of people reading this post will already have a DSLR or mirrorless camera, if that’s you – great! I would recommend starting with a camera you already have. Not only does it save money, but DSLRs and mirrorless cameras take wonderful images of deep sky objects.
If however, you need to buy a camera then here’s some things to look out for:
· A flip out screen – this will save your neck when focusing and framing your targets
· Low shutter actuations – important for a DSLR
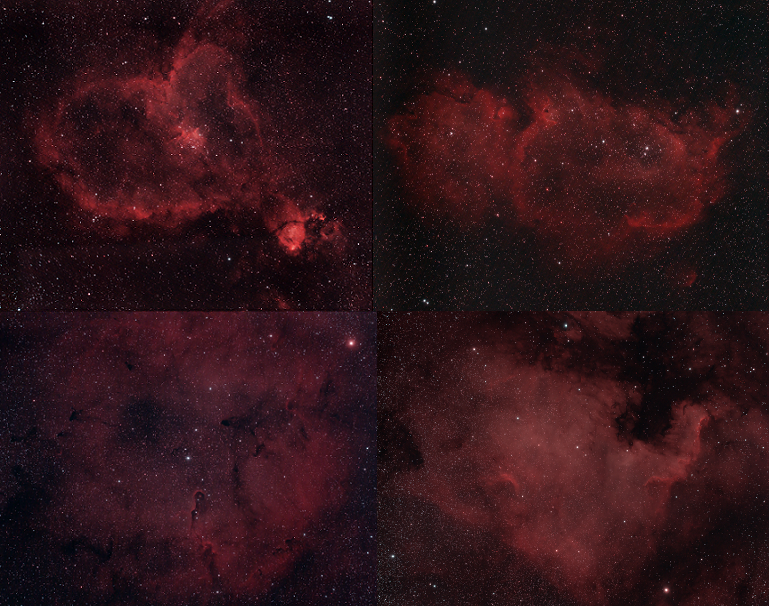
· Astro modification – stock cameras block out approximately 85% of red light. Removing a filter inside the camera allows that red light to come through, which is what’s needed to nebulae.
If you’re looking to save money, then why not buy second hand from somewhere like mpb.com.
I would recommend buying something like a Canon 600D or similar, preferably a newer model like the 700D if you can get one at a good price. You can buy astro-modified cameras from cheapastrophotography.com

Mount & Tripod
I use a Sky-Watcher EQ6-R Pro. This mount is a beast, it will handle pretty much any deep sky astrophotography setup. However, it’s also very expensive at just under £1500 and is overkill for the equipment that I have mentioned in this post.
With astrophotography, stability is the most important thing. The general rule of thumb is that you want to spend about half of your budget on the mount. If you’re going to skimp on any of the equipment, I wouldn’t recommend doing so on your mount, but that doesn’t mean you need to spend £1500.
I would recommend starting with a Sky-Watcher Star Adventurer GTi. It was released in late 2022. It has a payload capacity of 5kg (11lb) and has a go-to capability that can be used via an app on a phone or tablet. It’s currently available for £599, which is probably the cheapest deep sky astrophotography go-to mount on the market, but that doesn’t mean it isn’t capable. This mount is perfect for beginners with lightweight setups!
If that is too much money, or you’re only using a 135mm lens or similar, then you could look at the older models of the Star Adventurer like the 2i or the Mk1 original, which are less than half the price of the Star Adventurer GTi and will work absolutely fine for a camera lens. I’ve actually used the Mk1 Star Adventurer with a Sky-Watcher Evostar 72ED! Bear in mind that there is no go-to capability on these versions so you will have to manually find your astrophotography targets.
Power Source
If possible, I would always recommend mains power. It’s the most reliable method for powering your gear. If, however, you don’t image near a mains power source, then the Star Adventurer mounts can all be powered using AA batteries, and a DSLR or mirrorless camera will of course have its own battery, meaning you don’t necessarily require an additional power source.
If you want to read more about powering astrophotography gear, then I have a complete guide available here.
Where to buy gear from
I’m based in the UK and buy all my gear from FirstLightOptics. They’re the largest retailer in the UK, have lots of friendly and knowledgeable staff who are more than happy to help via email, and their prices are matched with other retailers. They also ship worldwide, so you don’t need to be based in the UK to purchase from them, but shipping charges will apply.
If you’re based in the US then OPT and HighPointScientific are probably your 2 best options. I’ve dealt with both of these organisations on occasion and their staff are super friendly and helpful.
If you’re based on Australia then Bintel are a popular option but I don’t have any direct experience of purchasing from them.
If you know of other retailers in your local area then leave a comment down below.
Image processing
It’s easy to forget about this part! It’s important to consider not just the equipment you need for imaging, but also what you’ll need once you’ve captured those images.
It goes without saying you need some sort of laptop/PC, but you also need some software specific to astrophotography too. Fortunately, there are some free options available to us but I will also include some paid options too.
Windows
Stacking software: DeepSkyStacker is available for free. I have a complete guide to DeepSkyStacker for deep sky astrophotography on my website.
Post-processing: Gimp (free), Adobe Photoshop (subscription), PixInsight (one time payment).
PixInsight is the best astrophotography image processing software there is, but it comes at a price. Although I recommend downloading the free trial to try it out. If you do decide to get it, I have a beginner’s guide available. I also have Photoshop tutorials available on my website.
Mac
Stacking software: SiriL (free)
Post-processing: Adobe Photoshop (subscription), PixInsight (one time payment)
Optional extra equipment
- Dew heater – pretty much essential in the UK but potentially not required depending on the climate in your location.
- Filters – to block out that pesky light pollution, but for your first images, try without a filter.
- Auto guiding – Allows you to take much longer exposures but comes with additional cost and complexity, so I wouldn’t class it as essential right away.
- ZWO ASI Air or similar – if you build a rig like mentioned above, there’s no need to have a controller like the ASI Air straight away. Save that for when you’re auto guiding, or have an Astro camera.
Summary
It is possible to build a deep sky astrophotography rig without breaking the bank, and without buying everything you might possibly need all in one go. I recognise however, that the equipment mentioned in this post may be too much money for some – unfortunately astrophotography is very expensive!
However, I do have a post dedicated to what I believe is the cheapest deep sky astrophotography rig you can buy which you may want to check out.

