The Pleiades, also known as M45 and Seven Sisters, is an open star cluster located in the constellation Taurus. It is one of the closest star clusters to Earth, at a distance of 444 light years and is easily visible with the naked eye. During Winter at my latitude of 51 degrees North, The Pleiades is very prominent overhead and it is an ideal time to capture detailed images as it is high in the sky.
This is a perfect choice target in the Northern Hemisphere for beginners. This is because you can see it with the naked eye under most skies, in my Bortle class 4 skies, The Pleiades is clearly visible overhead and I always refer to it as the “mini dipper” as it resembles the big and little dipper, albeit on a minuscule scale from out perspective on Earth – in reality it’s 17.5 light years across!
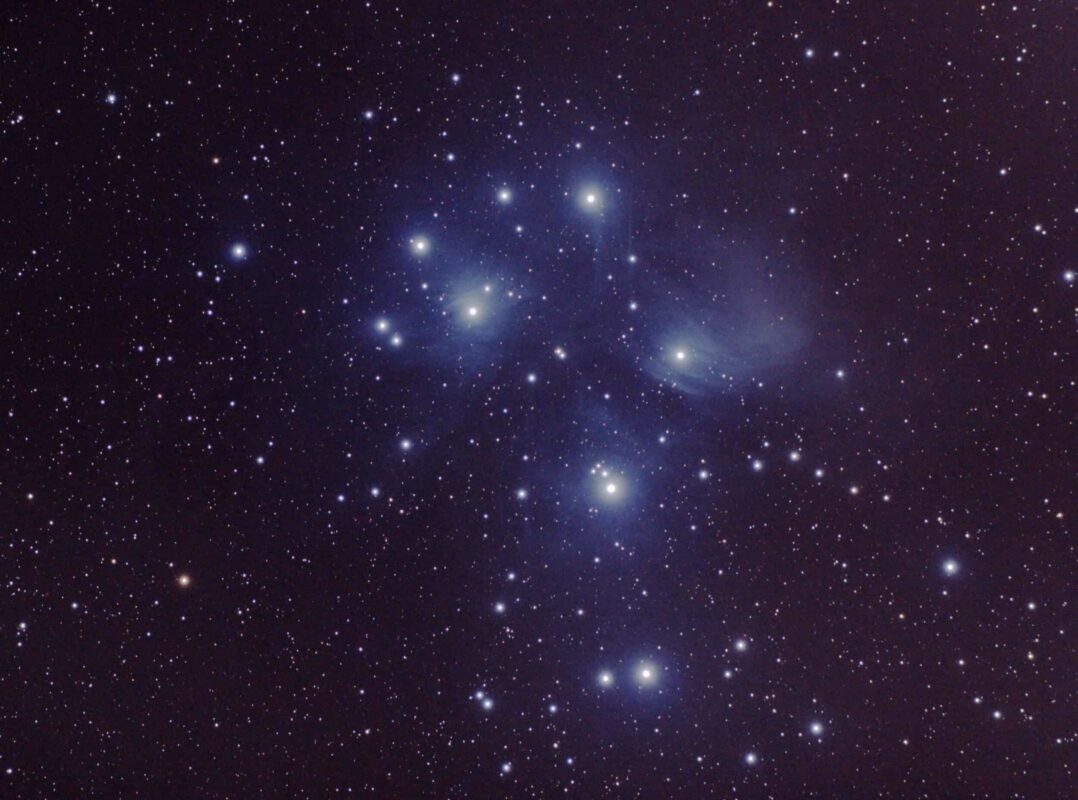
The image above was taken with an unmodified crop sensor Canon DSLR. The Pleiades is a great target for unmodified DSLRs due to it being a broadband target, meaning that it isn’t reliant on collecting a lot of data at the red end of the light spectrum that stock DSLRs block out.
Acquisition Details:
- Telescope: Sky-Watcher 72ED DS-Pro
- Mount: Sky-Watcher HEQ5 Pro (belt mod)
- Camera: Canon 650D (unmodified)
- 57x 2-minute exposures
- ISO 800
- 25 dark frames
- 30 flat frames
- 50 bias frames
- Stacked in DeepSkyStacker
- Processed in Adobe Photoshop
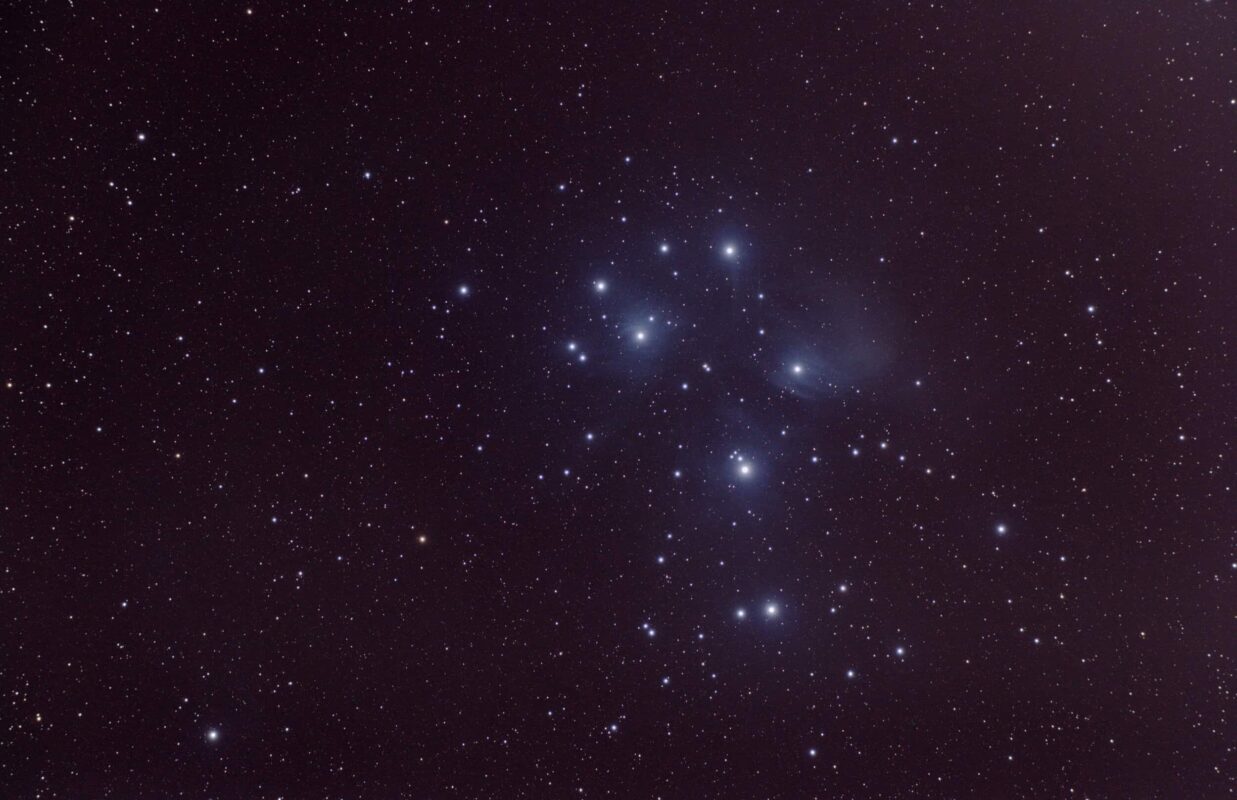
The above image is the “out of the box” view from my Sky-Watcher Evostar 72ED DS-Pro telescope. The 72ED has a focal length of 420mm, but when used with a 0.85x flattener/reducer that reduces to 357mm which is a really nice wide field of view.
The purpose of this image is to show what you can realistically expect your images to look like in terms of field of view size right out of the scope. If you have a bigger telescope such as an 80mm or 100mm, you can expect even better results than what I have achieved here.
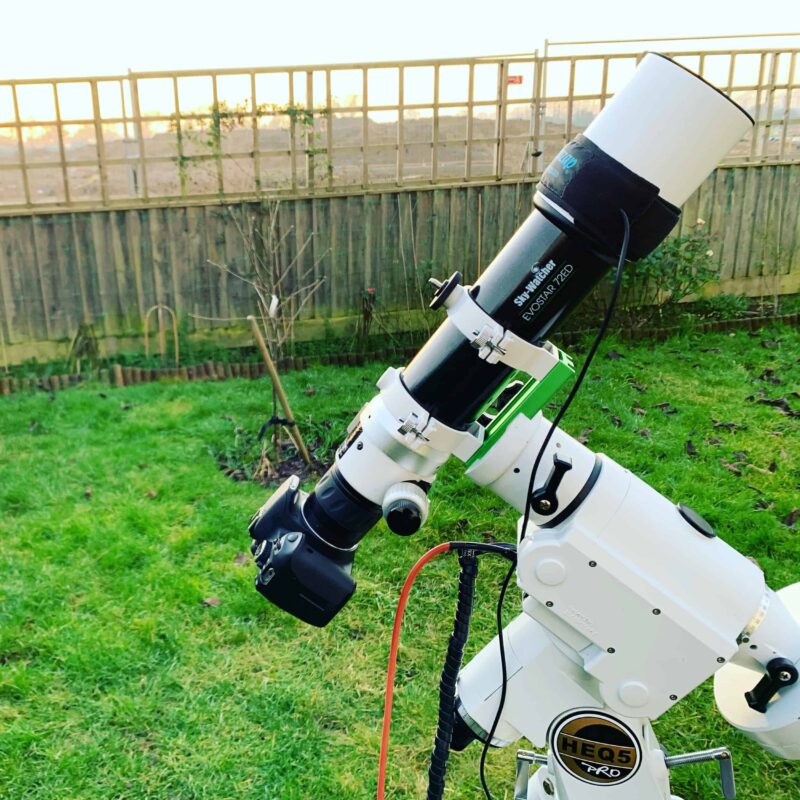
The above image is the set up that I used to take these images. The Sky-Watcher 72ED is a doublet apochromatic refractor, meaning it gives great focus across red, green and blue wavelengths along the same plane of the lenses.
The attached flattener/reducer gives a nice flat field right to the edges, which is crucial for achieving smooth looking astrophotography deep sky images.
I am lucky to live under Bortle class 4 skies so I have not used any light pollution filters for any of the astrophotography images on my website currently. While I do see this as a necessary investment in the future, I am enjoying learning the ropes of astrophotography and image processing at the moment and don’t want to keep buying new gear – my bank account (and wife!) won’t thank me for that!
Image Processing
It is essential in astrophotography to stack and process your images. To stack my images I use DeepSkyStacker, which is a free piece of software that will stack your light images along with your calibration frames.
Calibration frames are absolutely crucial to remove gradients, hot pixels among other things in your images and it’s worth taking the time to get familiar with how to take calibration frames in order to produce the best images that you possibly can, which is why we’re all here, right?!
I process my stacked images in Adobe PhotoShop, which was completely new to me a few years ago. Luckily Trevor at AstroBackyard has a few great tutorials on his website and YouTube channel for beginners. It’s pitched at exactly the right level and has helped so many people including me.
